DIY Wood signs with a monogram
DIY Wood signs with a monogram
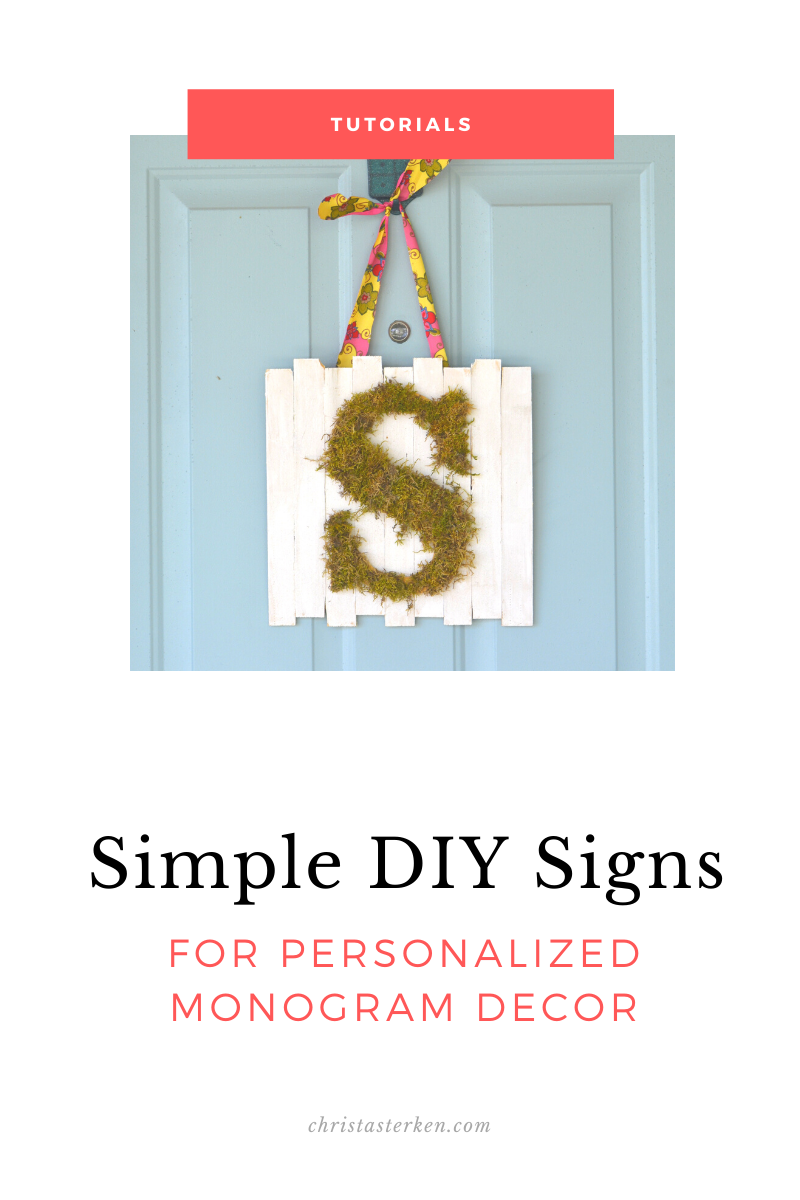
With the rapid entry into warmer temps, many are turning their attention to creating a welcoming outdoor area. This DIY sign personalizes any area of the home and makes a great addition to a front door.
The base is made of affordable wooden shims, and the letters can be decorated with paint, fabric, paper or as in this sample, moss.
Need an idea for an original gift? This homemade sign is super cute, and the style is just neutral enough to complement most recipients.
Plan to allow a few hours to create this project; it takes time for the glue to dry completely
Original homemade sign idea without a cricut!
This cute sign is forgiving and doesn’t require precision. If you are unable to purchase the Moss Mat, you can simply glue regular moss onto the monogram, for the same effect.
I am so thankful my friend taught me to make them, and encourage you to try one out this week~
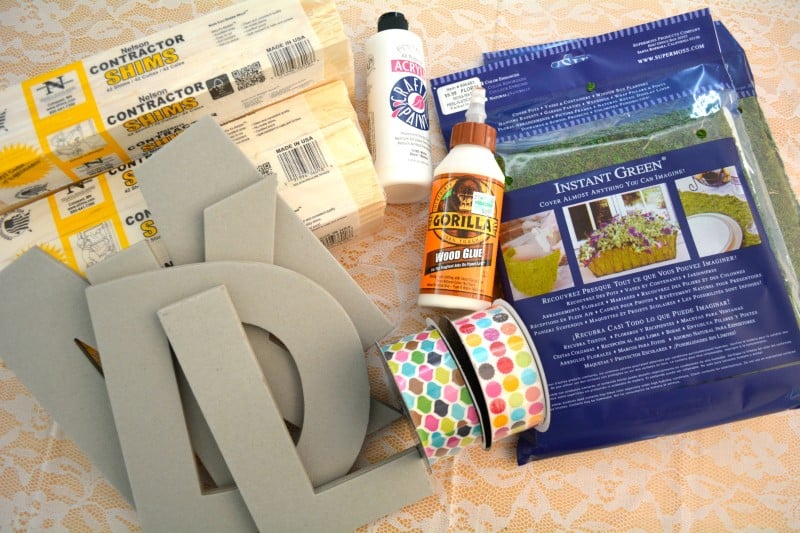
Supplies for DIY wood sign:
- Contractor Shims (there are a few sizes, make sure to compare against the size of your letter. I preferred the Nelson brand in a pack of 42)
- Super Moss All Purpose Moss Mat
- Wood glue
- Acrylic paint and brush
- Ribbon
- Staple gun
- Large letter (available at craft stores in either wood or compressed chipboard)
Directions:
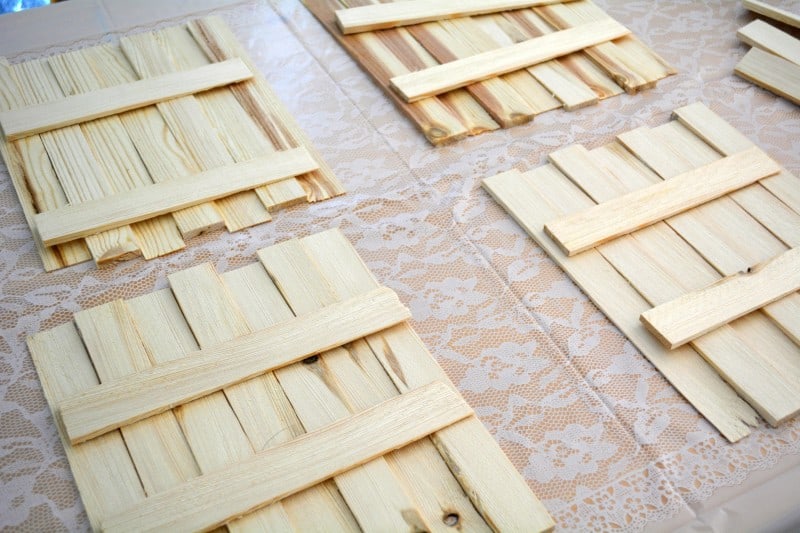
- Lay out the shims in single layer rows. Offset the edges to lend additional charm, it looks nicer than a straight line. One note of caution I learned the hard way; do NOT alternate the thickness of the edges as shown in the sample picture. You’ll want thick at one end, thin at the other, as shims are angled to flatten out at one end. I made four at a time for gifts, this is a perfect project to create multiples off in an assembly line fashion
- Place two shims along the back to act as braces. The whole thing will be painted so don’t worry about coloring, etc.
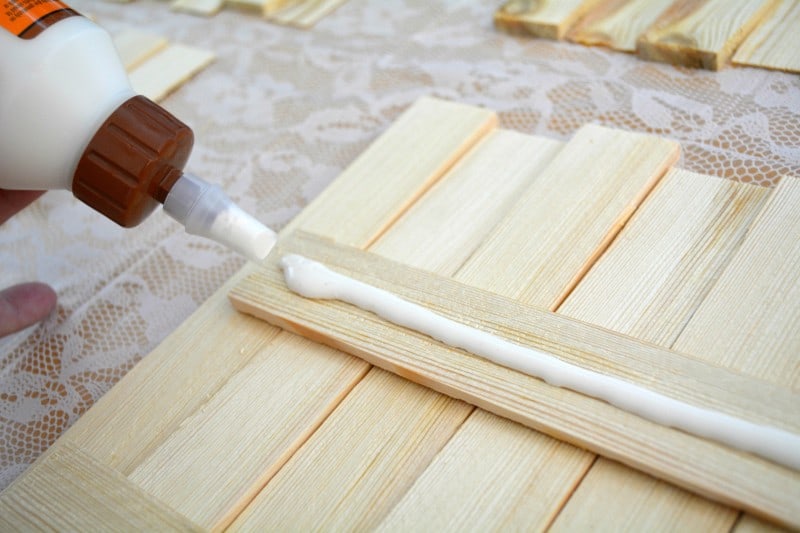
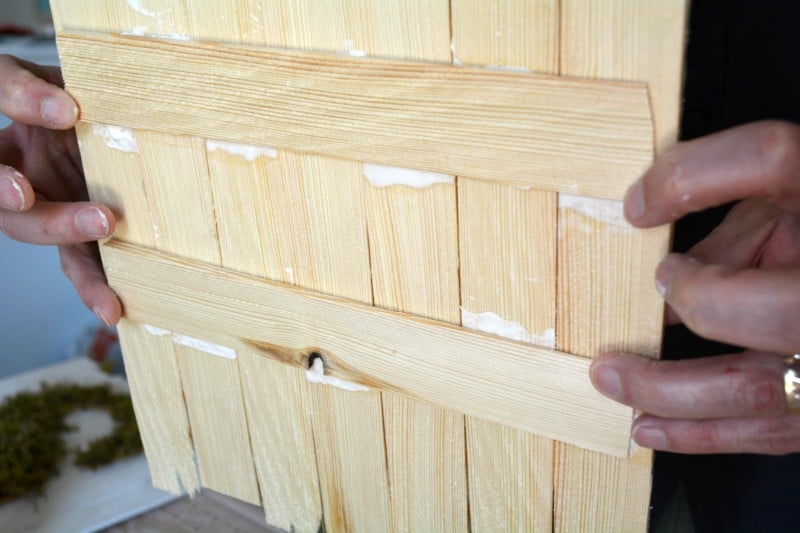
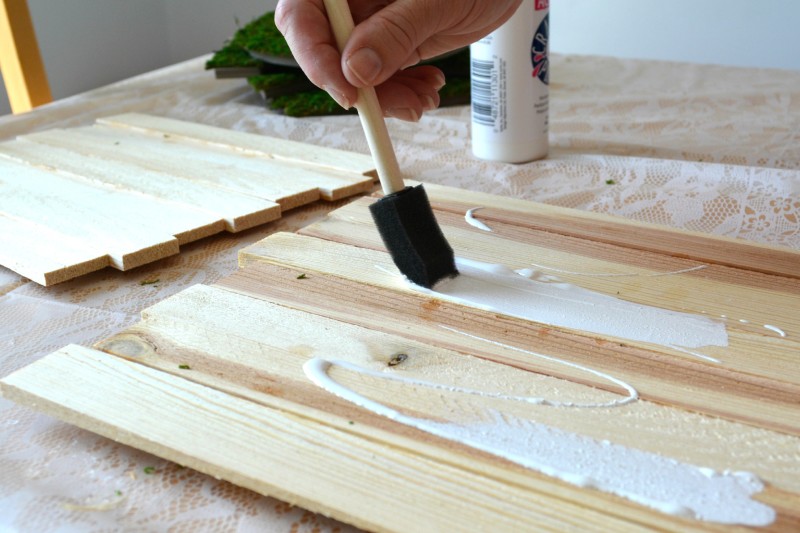
- Using wood glue, adhere the brackets
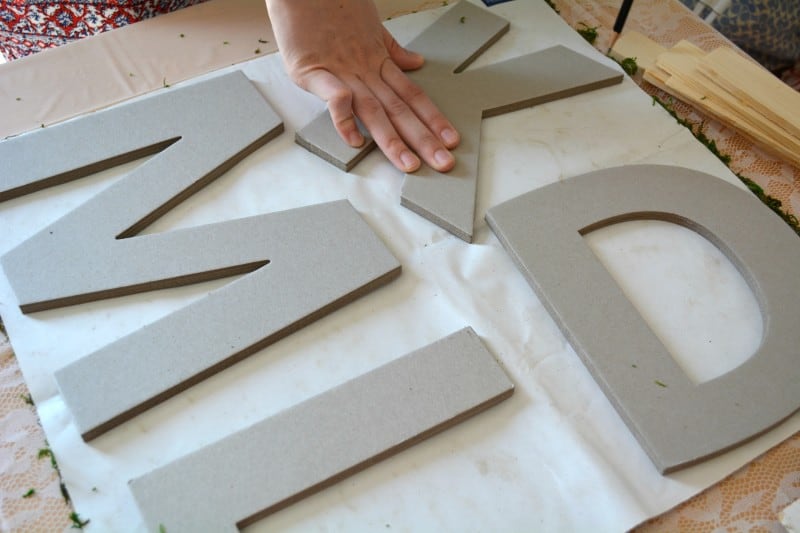
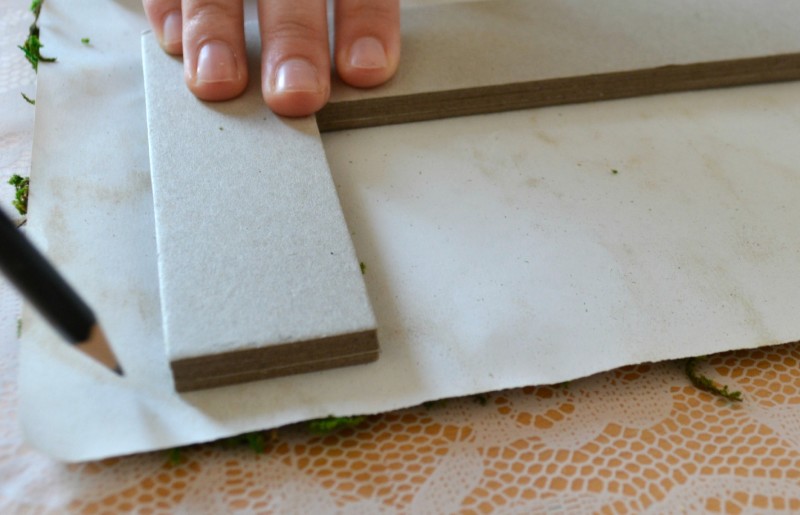
- While the wood is drying, open up the sheet of Moss Mat and lay white side up. The moss faces down, and the white is the backing of the adhesive sheets. Place letters down on the sheet and trace along the outer edges.
- Another note of caution (even experienced DIY’ers learn the hard way!): Trace the letters in reverse. If you trace them normally, when you peel off the adhesive the moss will be facing the opposite direction. And then, the piece is no good
- Cut around the marked letter shapes, leaving a bit of an outer edge around the mark. Perhaps ¼’ or so larger than the pattern. This will allow a slight overhang when adhered, so the base letter is not noticeable
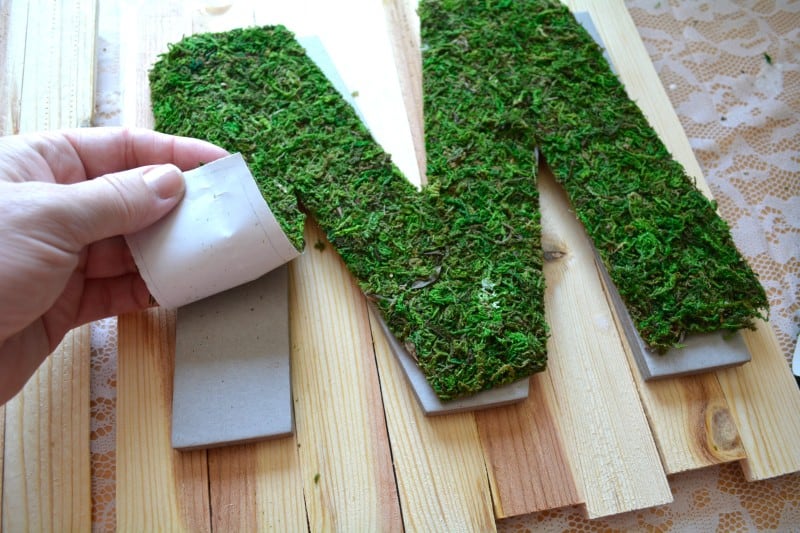
- Peel and stick the moss to the letter
- Paint each wooden base, front, and back. I chose to use one coat, to achieve a more weathered look
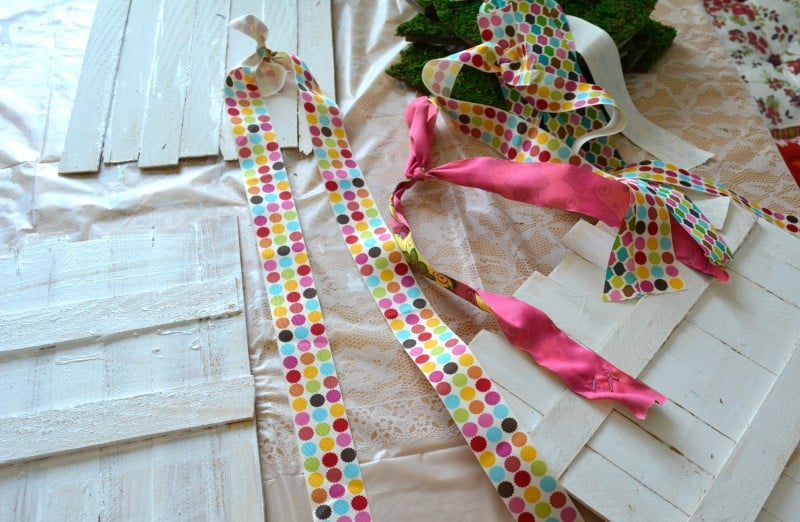
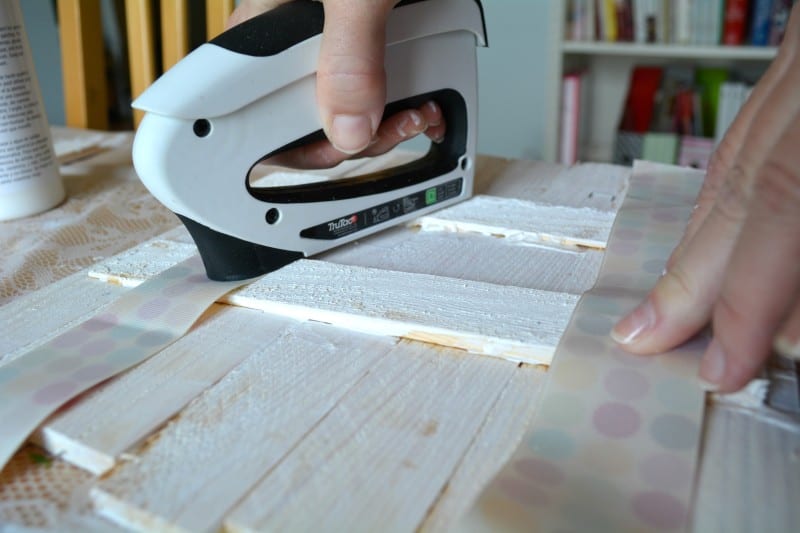
- Cut two strips of ribbon and tie a small knot/bow connecting the ends. Staple gun the other two ends to the back to hang the sign
- Glue the letter to the front of the wood and let dry completely
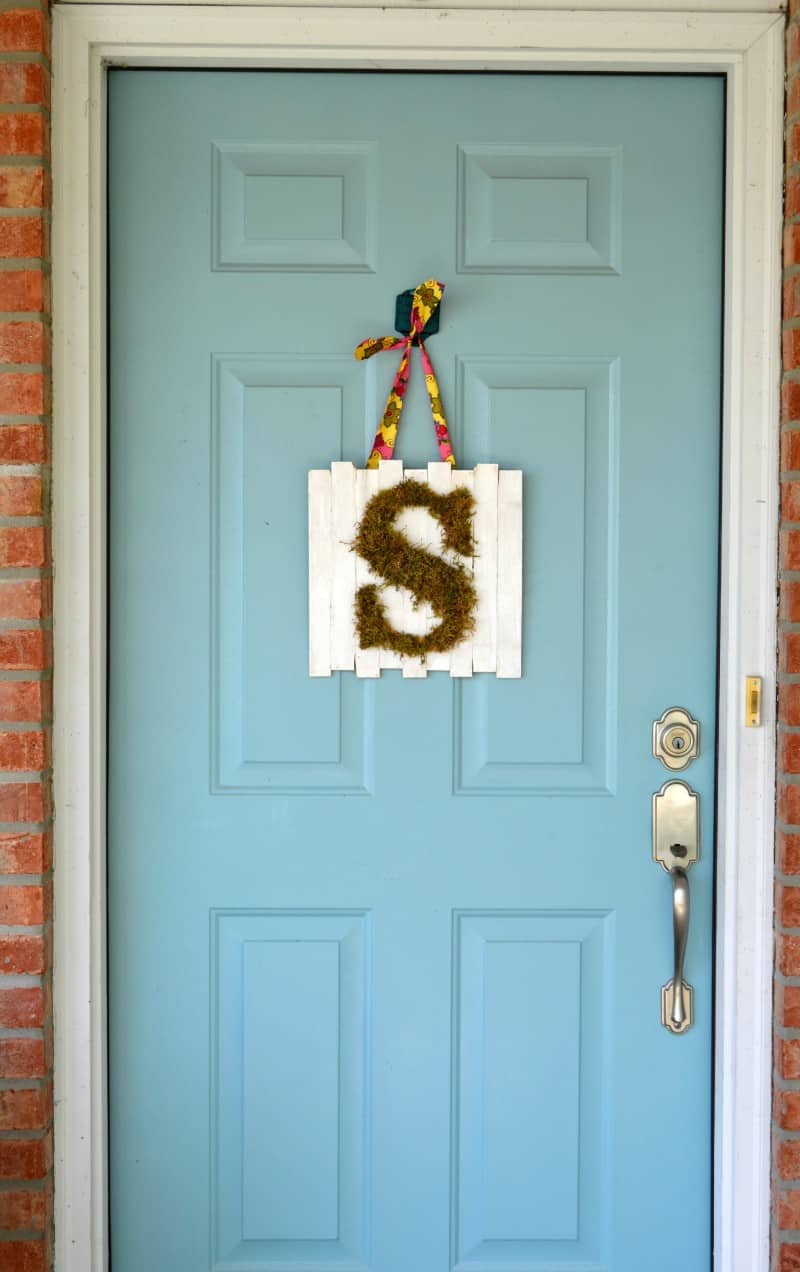
Decorating the house for cheap is fun. Don’t be intimidated to try this, it’ll turn out great and you’ll be delighted!

(Originally published in The Herald Bulletin)


Awesome, Christa!
You are so creative and…dexterous!
Have a wonderful April!
Katina
You too my dear friend!
We love this project! Especially since you use our TruTac Stapler. Keep on creating beautiful things, Christa! #MadeWithArrow
This is such a cute sign! Thanks for the fun idea. I didn’t even know about moss mat.
Please share a picture if you make one Dawn, it is a rewarding project for not much effort!